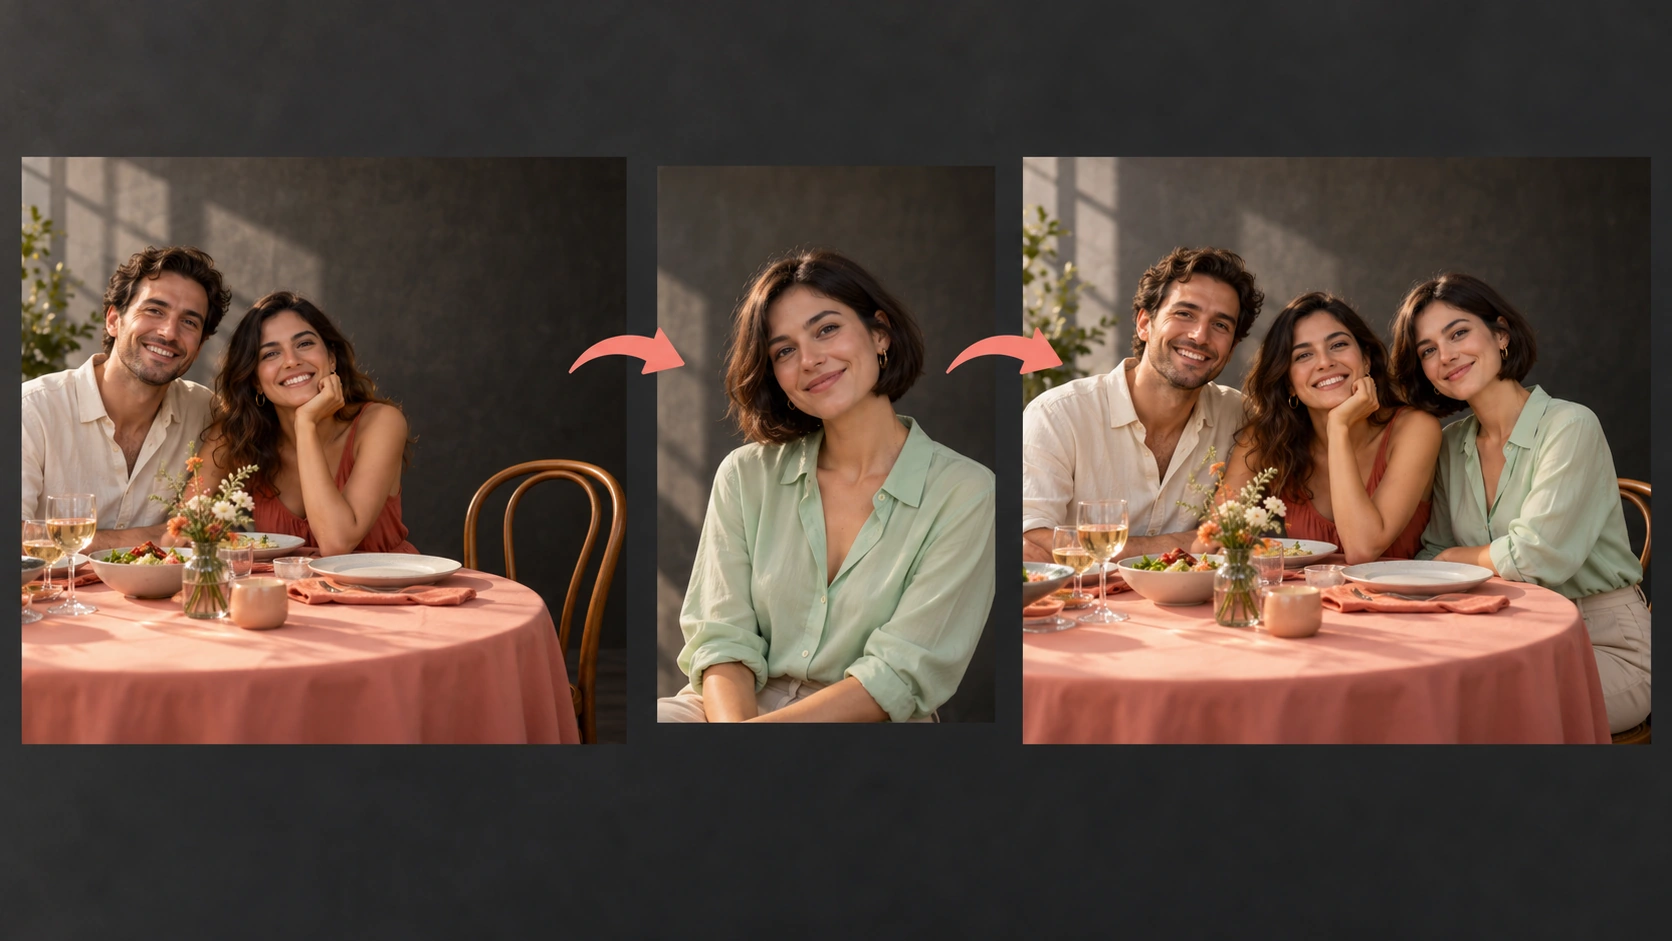
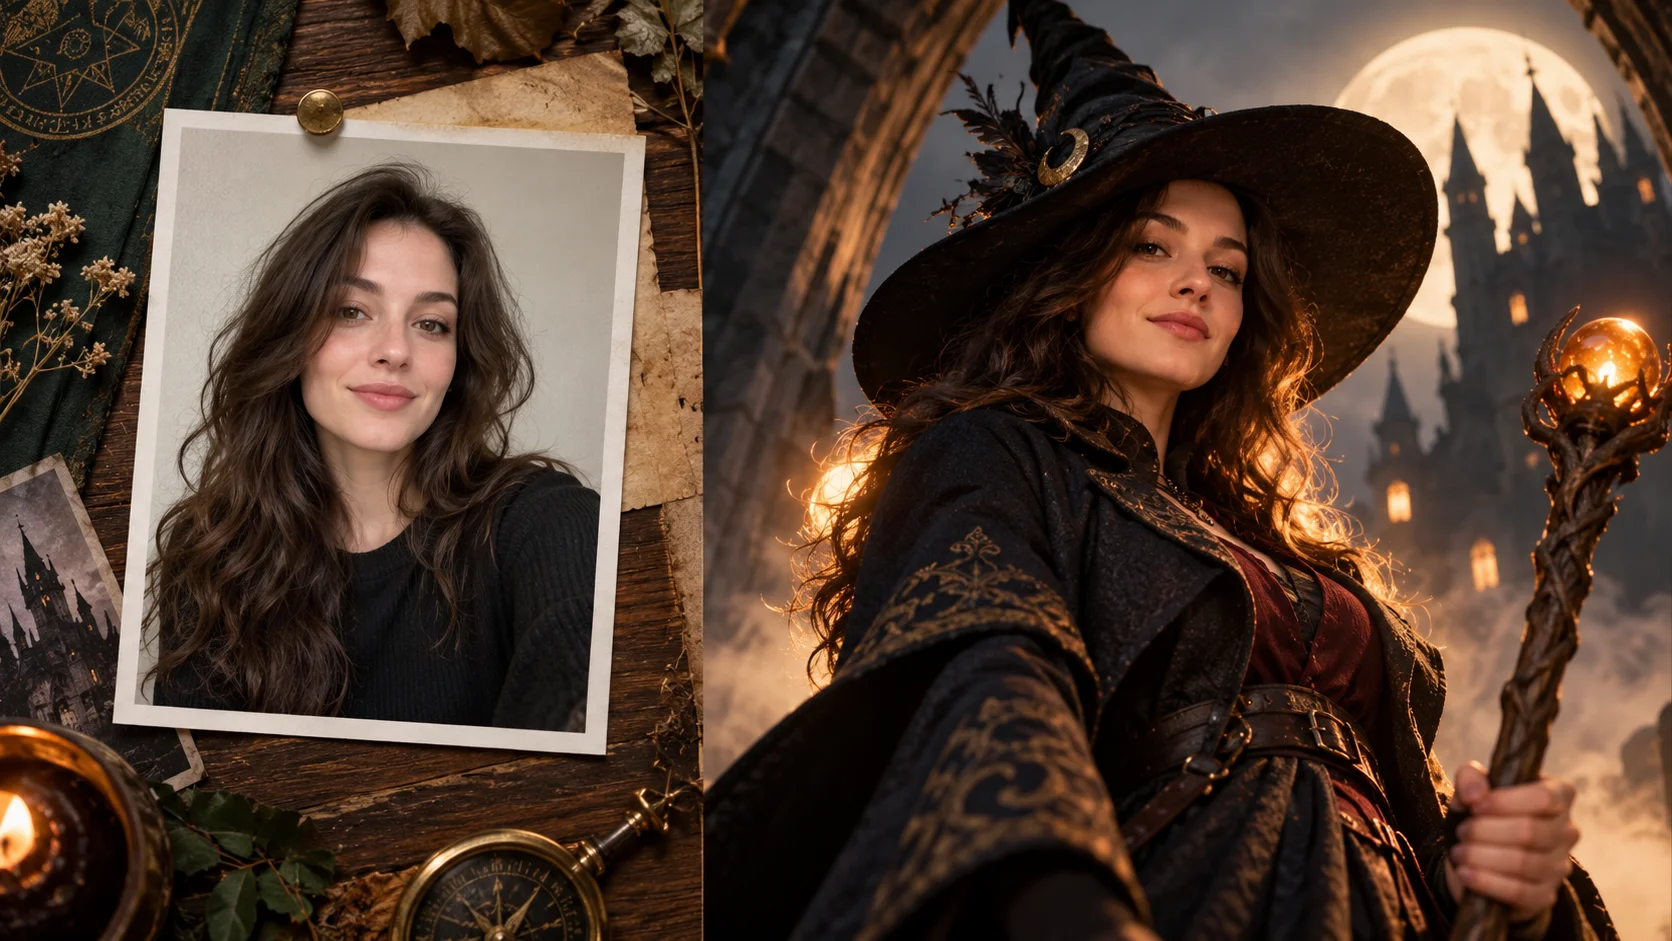
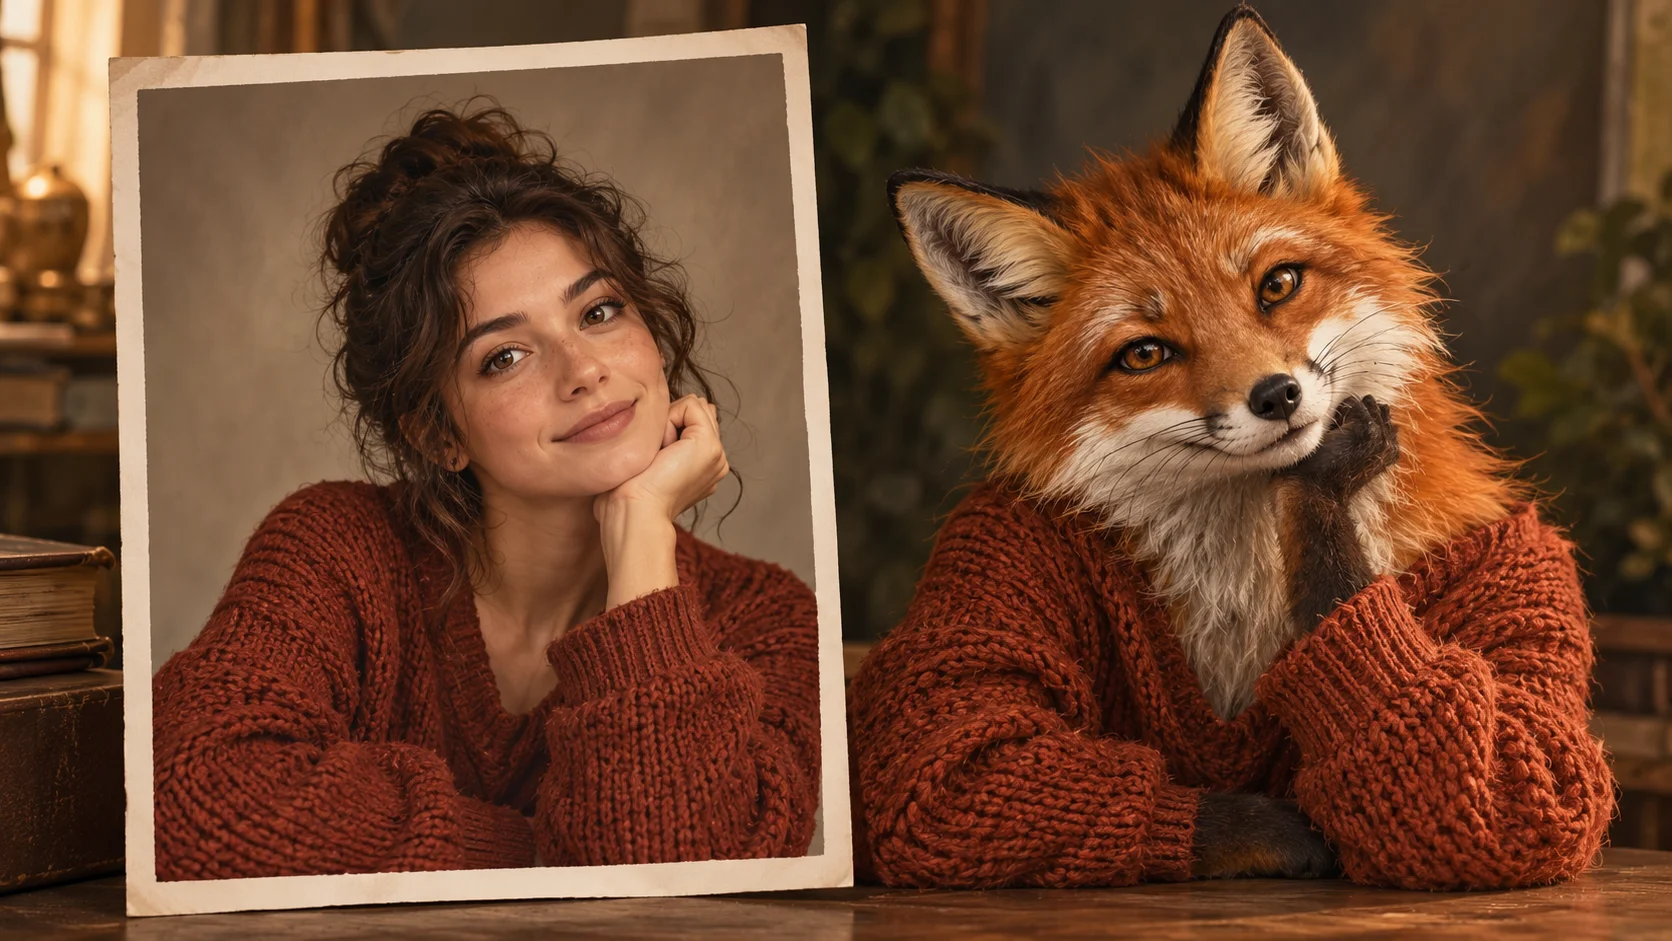
Base scene and one person portrait become a directed group-photo edit.
History
The answers before you start
What does this tool make? Add People To Photo combines a scene you want to keep with a separate portrait of the person you want to place in it. Direct where that person belongs, how large they should appear, and which light should fall on them.
How do I start? Choose Image to Image, place the base scene in Reference 1 and the person portrait in Reference 2, then describe the intended position. Review the two previews and current quote before generating.
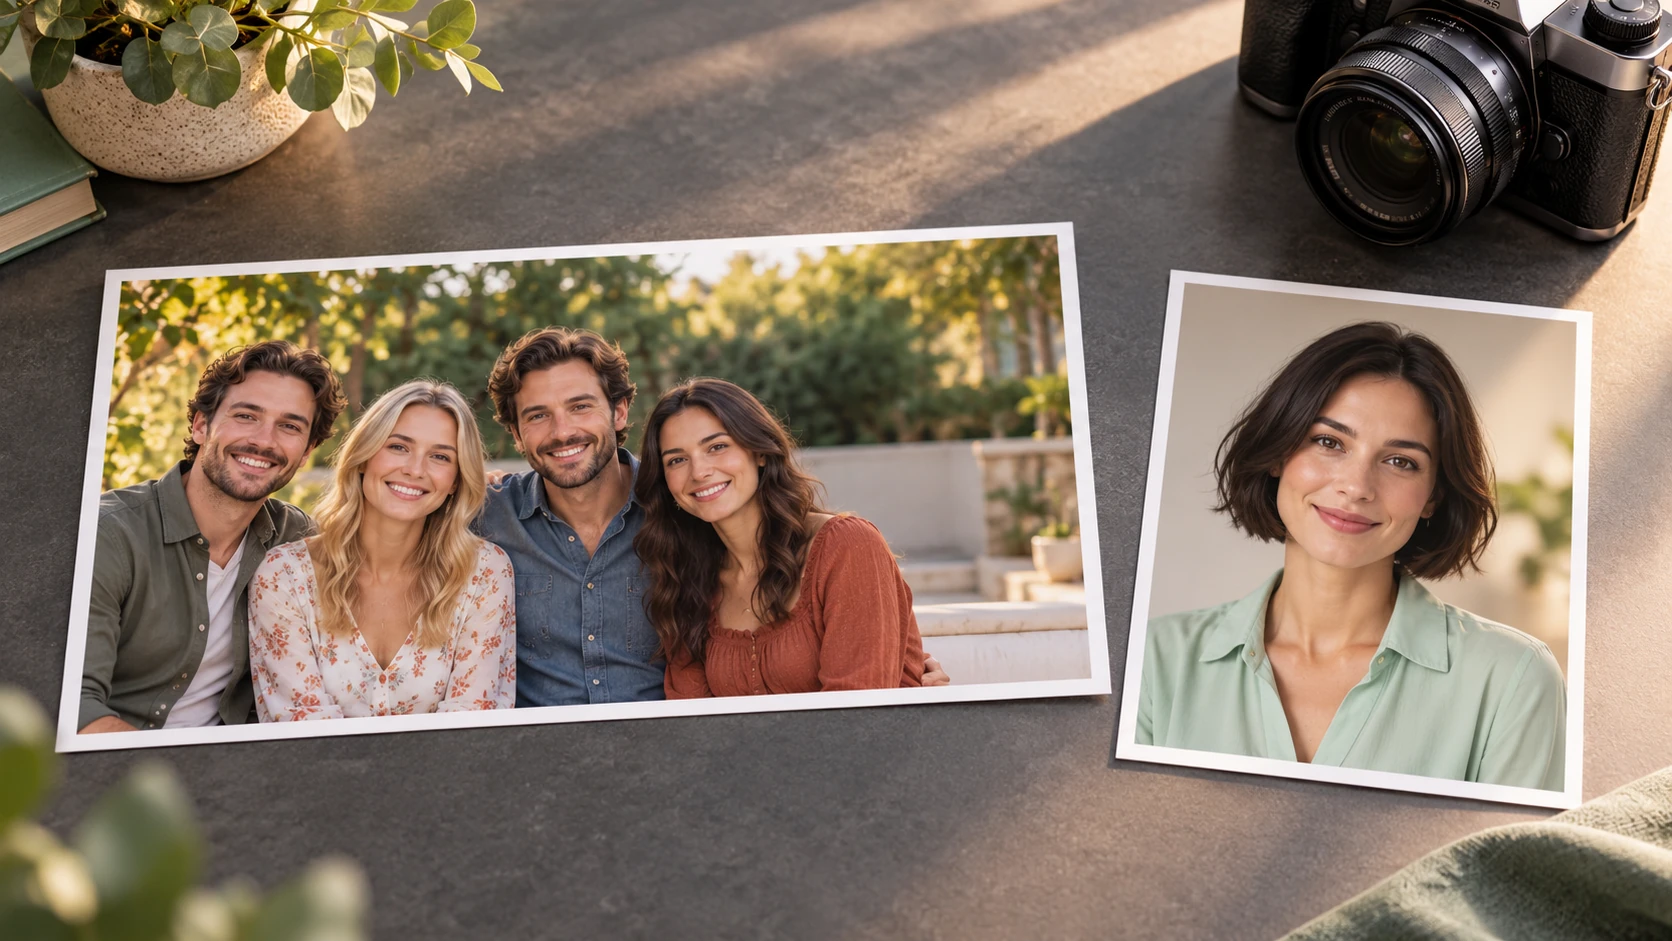
Which photo should I upload? Use Reference 1 for the base scene and Reference 2 for one clear person portrait. Choose a portrait that shows the face at a compatible angle; keep some open space in the scene for a believable new position.
Can I try it for free? You can read the guide and prepare the description before submitting. A generated image uses the quoted credits. Check your available balance and any current offer in the generator or Pricing before choosing to run it.
How much does a result cost? Use the live quote beside the generation action for this image. Changing the model or output settings can change that quote, so read it again before each new request.
When can I see the result? After submission, open History to follow the task. Queue demand, model and output settings affect completion. Preparing a photo or editing the description alone does not start a task.
Add People To Photo combines a scene you want to keep with a separate portrait of the person you want to place in it. Direct where that person belongs, how large they should appear, and which light should fall on them. Use the nearby generator to prepare a focused version, then compare the result with your reference.
Base scene and one person portrait become a directed group-photo edit.
1
Upload the base and references
Start with a clear group or scene photo. Add one separate person reference image with readable faces and even light. Note where the horizon sits, which way people face, and how wide the camera stands. Those clues decide whether a new figure can plausibly share the frame.
2
Write the placement, not just the person
Name the person to add and their position: left of the table, behind the second row, halfway between foreground and door. Set scale against the nearest existing figure. Describe lighting direction, color temperature and retained background details. Use the model controls to match the render's finish to the base.
3
Read the quote, generate, review
The generator displays a live credit quote before you commit. Review the available generation action, then compare the result in History against the base. Check feet, shadows, edge scale and face read. Refine the prompt wording rather than expecting pixel-exact compositing; keep the versions that hold the scene together.
Keep the important details readable
Check whether the added face resembles its portrait, whether shoulder height fits nearby people, and whether feet or seated legs meet the scene naturally. For this direction, explicitly retain the original guests, furniture, camera viewpoint and background geometry.
Shots worth directing
Use shared scale, light and contact shadows to make a new group composition coherent.
The late arrival at a long table
A dinner photo with a gap at the far end. Add a guest seated there, scaled smaller, catching the same warm lamp light from the left. Keep the table setting and other diners unchanged.
The group portrait with a missing sibling
An outdoor family portrait in flat afternoon light. Place one adult at the right edge, shoulder height matching the person beside them, feet on the same path, soft shadow falling the same way.
The band photo without its drummer
A garage rehearsal scene with hard light from a bare bulb. Add a seated drummer behind the kit, partially occluded, lit from above, with the amps and wall posters left in place.
Before you generate
Prepare one scene photograph and one separate, readable portrait.
Use Reference 1 for the base scene and Reference 2 for one clear person portrait. Choose a portrait that shows the face at a compatible angle; keep some open space in the scene for a believable new position.
Choose references with the same head angle as the slot you are filling, since a turned face reads better at the edge of a group.
Write the retained scene into the prompt explicitly, naming two or three background objects that should survive the edit.
Review the result at full size for foot contact and shadow direction before deciding whether to keep or rerun it.
Write a direction you can compare
Name the change first, then name the details that should stay. For this add people to photo request, keep the original guests, furniture, camera viewpoint and background geometry. A short, specific direction gives you a useful basis for comparing the next version.
Keep the two people already at the table unchanged. Add the person from Reference 2 in the empty chair on the right, with matching seated height, warm window light from the left and a shadow that follows the table legs.
Check whether the added face resembles its portrait, whether shoulder height fits nearby people, and whether feet or seated legs meet the scene naturally. When you revise, keep the other inputs steady. That makes it easier to tell whether a wording change helped the image.
Credits, waiting and the next version
The quote belongs to the actual model and output settings selected in the generator. A different model, aspect ratio or available resolution may change the cost. Check the current amount where you generate, and use Pricing when you need to compare the site’s available purchase options. Any free-credit offer depends on the eligibility and terms shown there.
Once submitted, follow the existing task in History while it is queued or processing. The chosen model and current demand affect how long it takes; this guide does not set a fixed delivery time. Inspect the completed image at a useful size before paying for another version. If you want an adjustment, keep the original photo and describe the one change you need.
Faceinhole.app questions
How many reference images can I use?
This page uses exactly two images: the base scene and one person portrait. Reference 1 keeps the setting and Reference 2 guides the added person. Check the paired previews and describe one person’s position before generating.
What makes a good person reference image?
Pick a clear, evenly lit photo where the face is visible and not obscured. Match the head angle and expression to the mood of the base scene where you can, and avoid heavy filters that differ from the lighting of the group photo.
How specific should the placement description be?
Name a side, a landmark and a relative height, such as standing just left of the doorway at the same shoulder height as the person in the blue shirt. Concrete spatial language gives the model more to work with than a general request.
Will the added face match the reference exactly?
Check whether the added face resembles its portrait, whether shoulder height fits nearby people, and whether feet or seated legs meet the scene naturally. Use a sharp reference and explicitly name the details to retain. Compare the returned image with the source before deciding whether another edit is useful.
How do credits and login work?
A live credit quote appears before generation, and you sign in to run jobs. Completed results are kept in History for comparison. There is no stated free allowance on this page; the displayed quote is the figure to rely on.
How can I make a useful second version?
Keep the original reference and the version you want to improve. Check whether the added face resembles its portrait, whether shoulder height fits nearby people, and whether feet or seated legs meet the scene naturally. Change one part of the description, such as position, shape or light, so the next result answers a clear question.
Direct your next group shot
Upload your base photo and a reference, then write the placement, scale and lighting note for the person you want in frame.