Pick a setting with a focal point
A single bridge, doorway or cabin gives the composition an anchor. Keep enough space around it for square-edged simplification.


Image generator guide
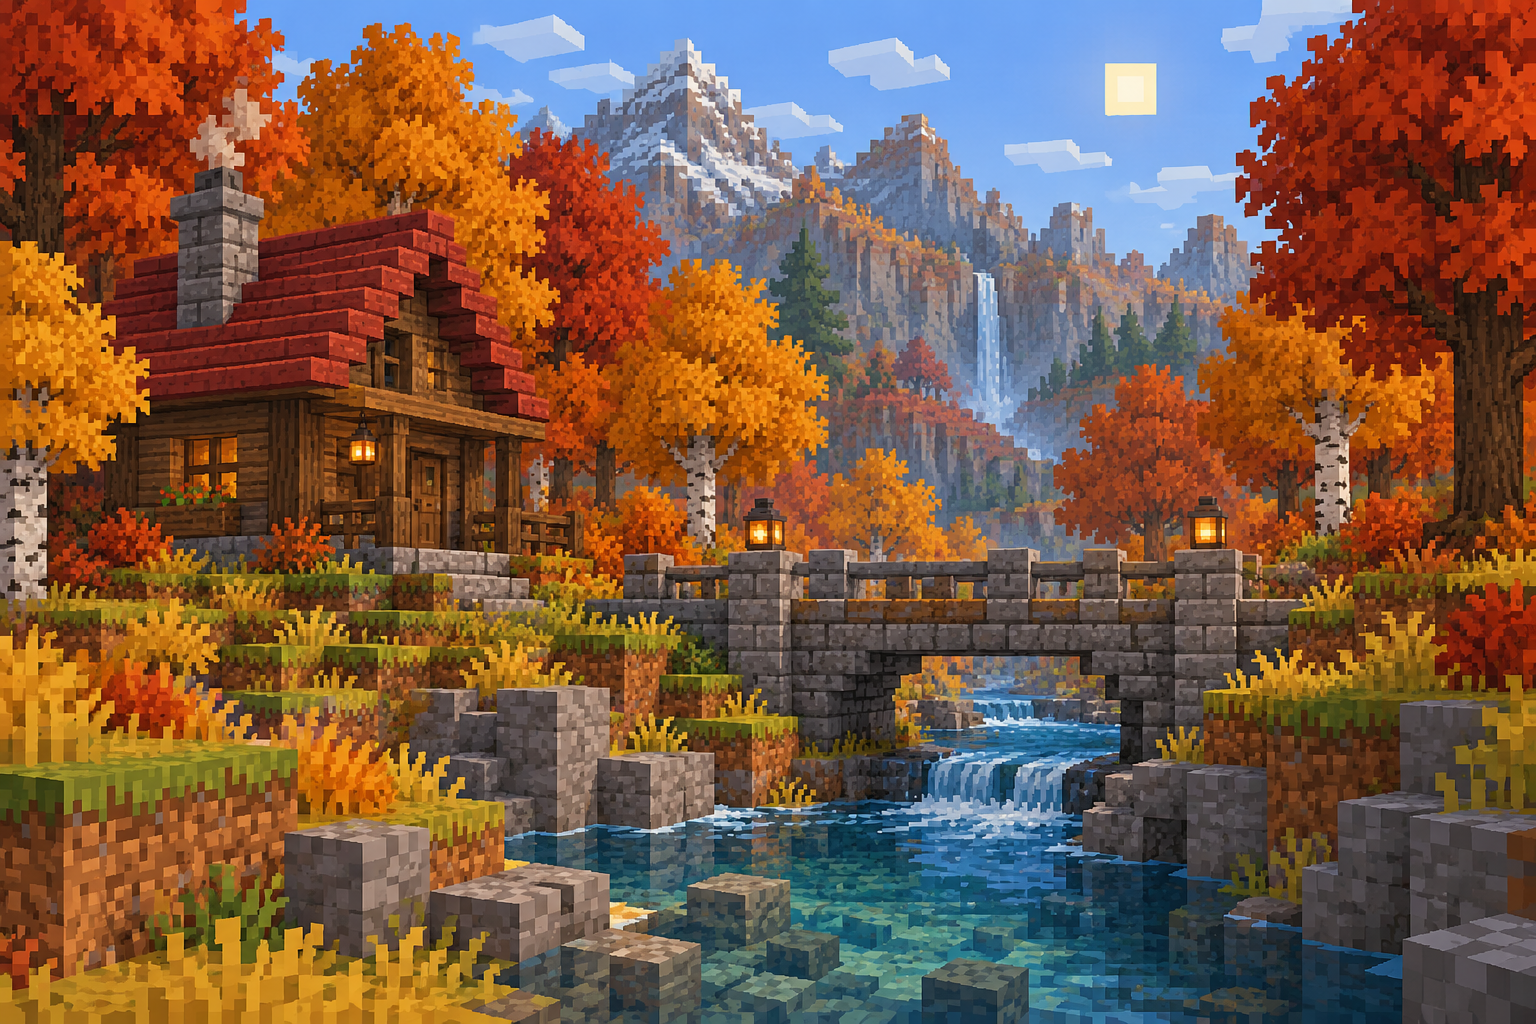
Make a blocky scene concept from a place, prop or building. The face in hole workflow focuses on putting a subject into a new role; this page helps plan the square-edged world around that subject.
Start creating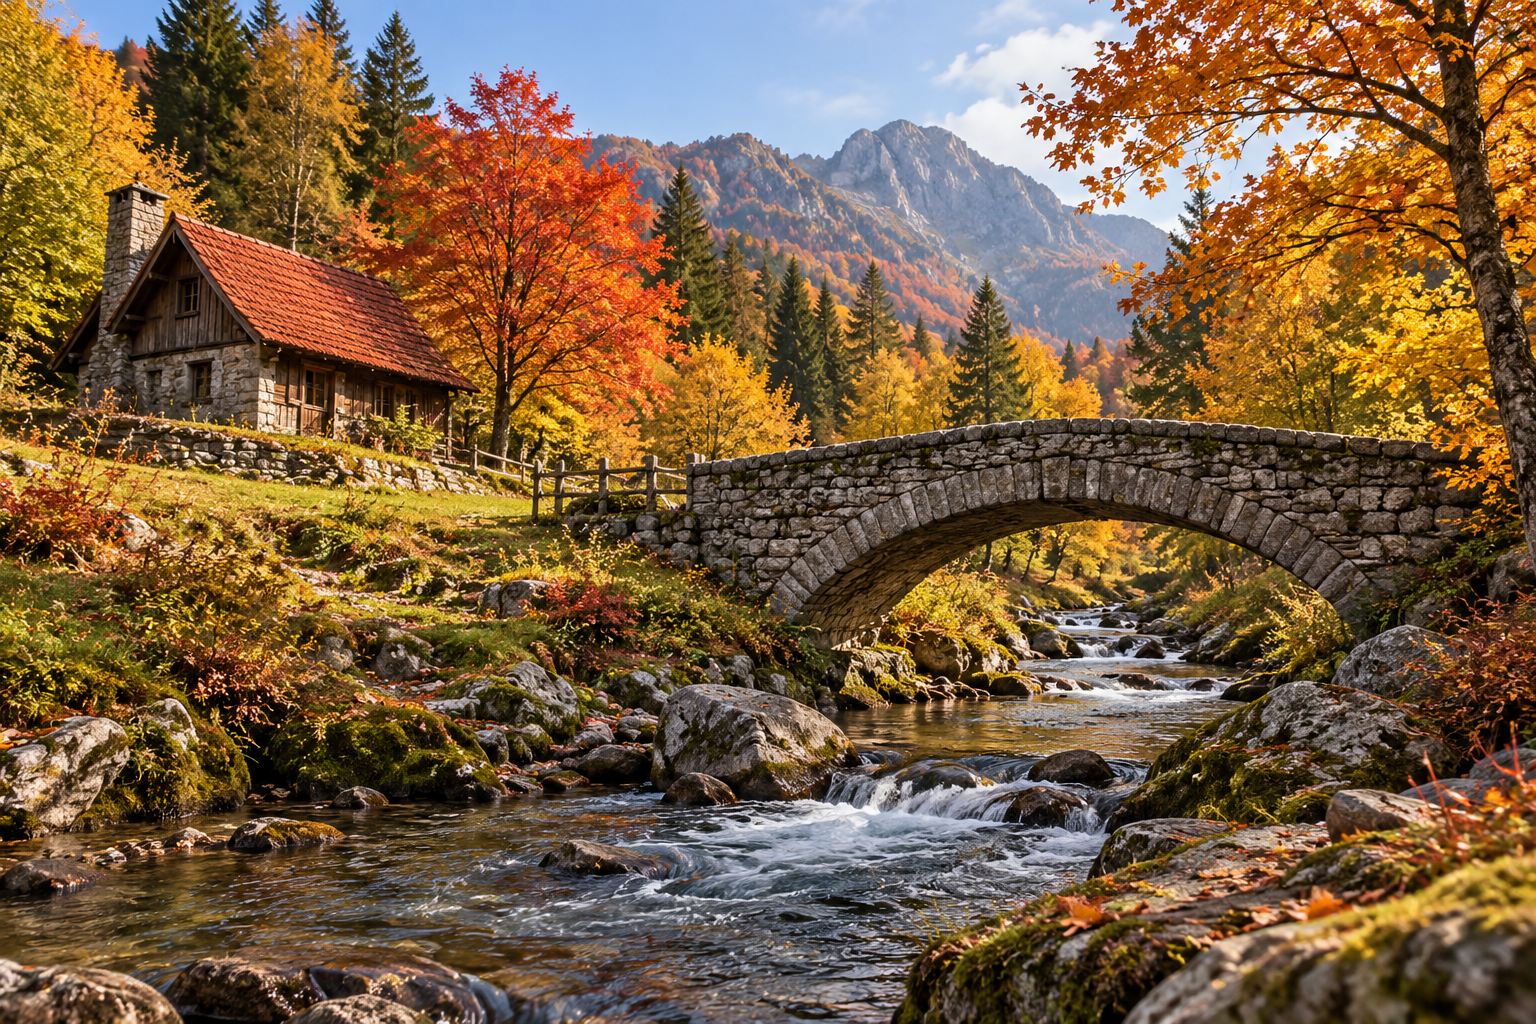
A single bridge, doorway or cabin gives the composition an anchor. Keep enough space around it for square-edged simplification.
Use the prompt to limit colors, simplify foliage and keep the focal point readable. Ask for the camera angle you want.
Compare the large image and a thumbnail. If the bridge or cabin disappears, reduce background detail on the next attempt.
Make a pixel setting around a character concept from the paired Skin page.
Choose a simple silhouette and add exact lettering separately in an editor.
Use one recurring bridge, cabin or path to keep a short sequence visually connected.
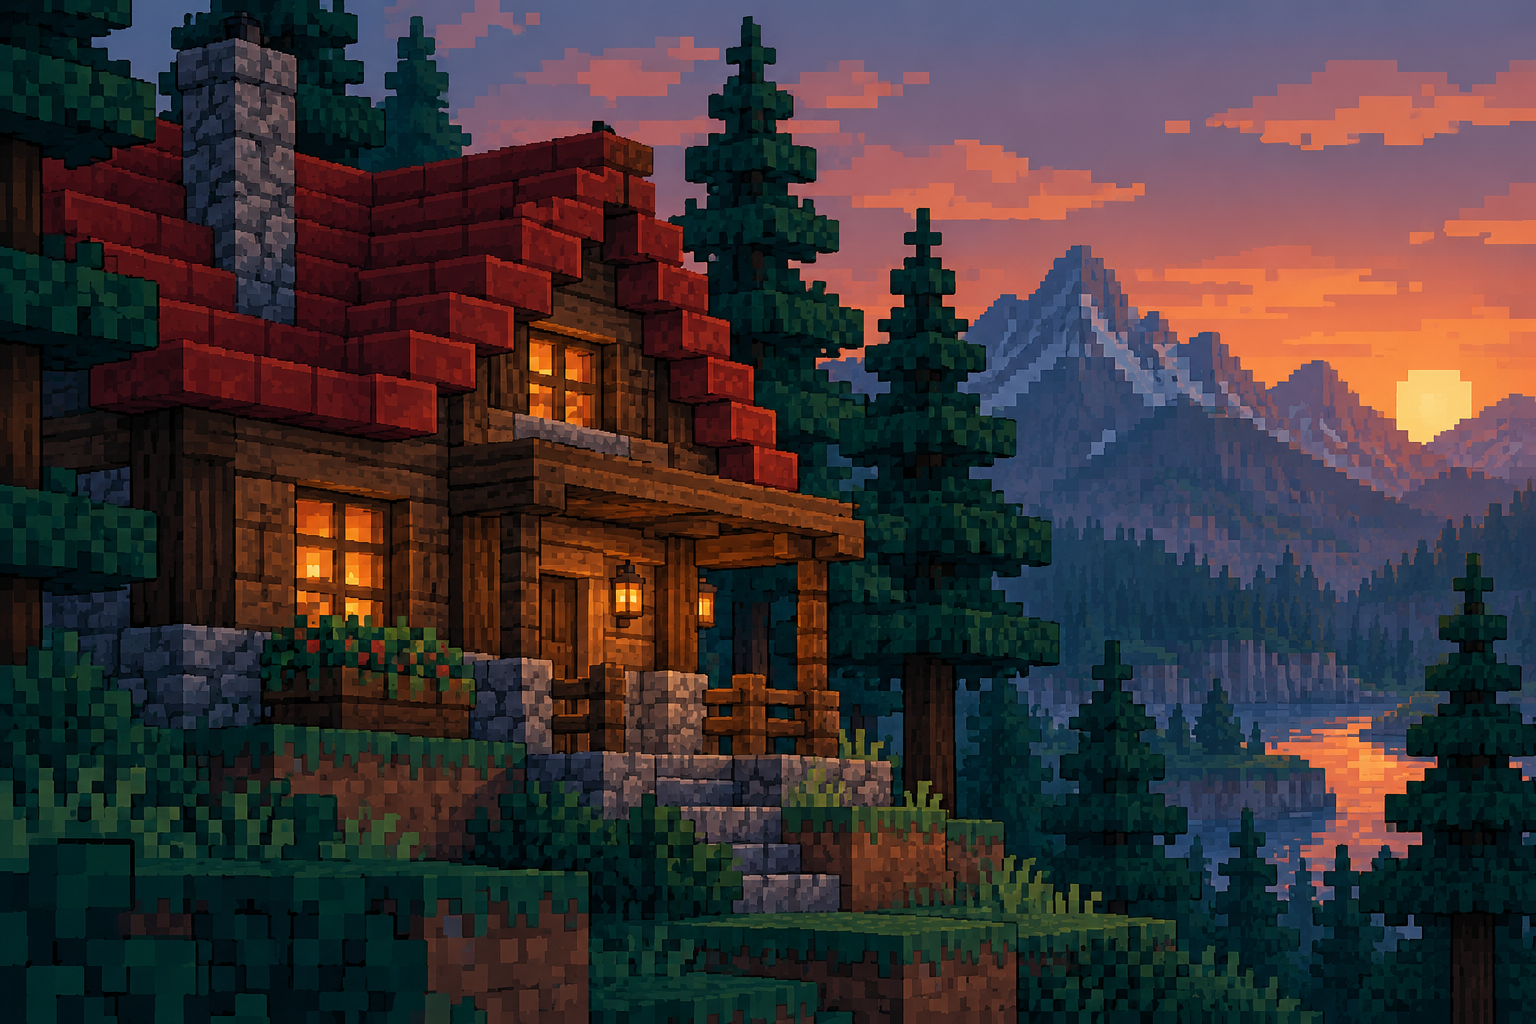
Name the bridge, cabin or object first, then direct the square shapes and limited colors.
Reimagine the uploaded place or object as a Minecraft-inspired pixel scene centered on one bridge, cabin or prop. Preserve the main camera angle and focal point, simplify foliage into broad square shapes, and use a short autumn palette. Finished scene image only; no schematic, game file, labels or watermark.
Check the focal point at thumbnail size before planning a character for the setting.
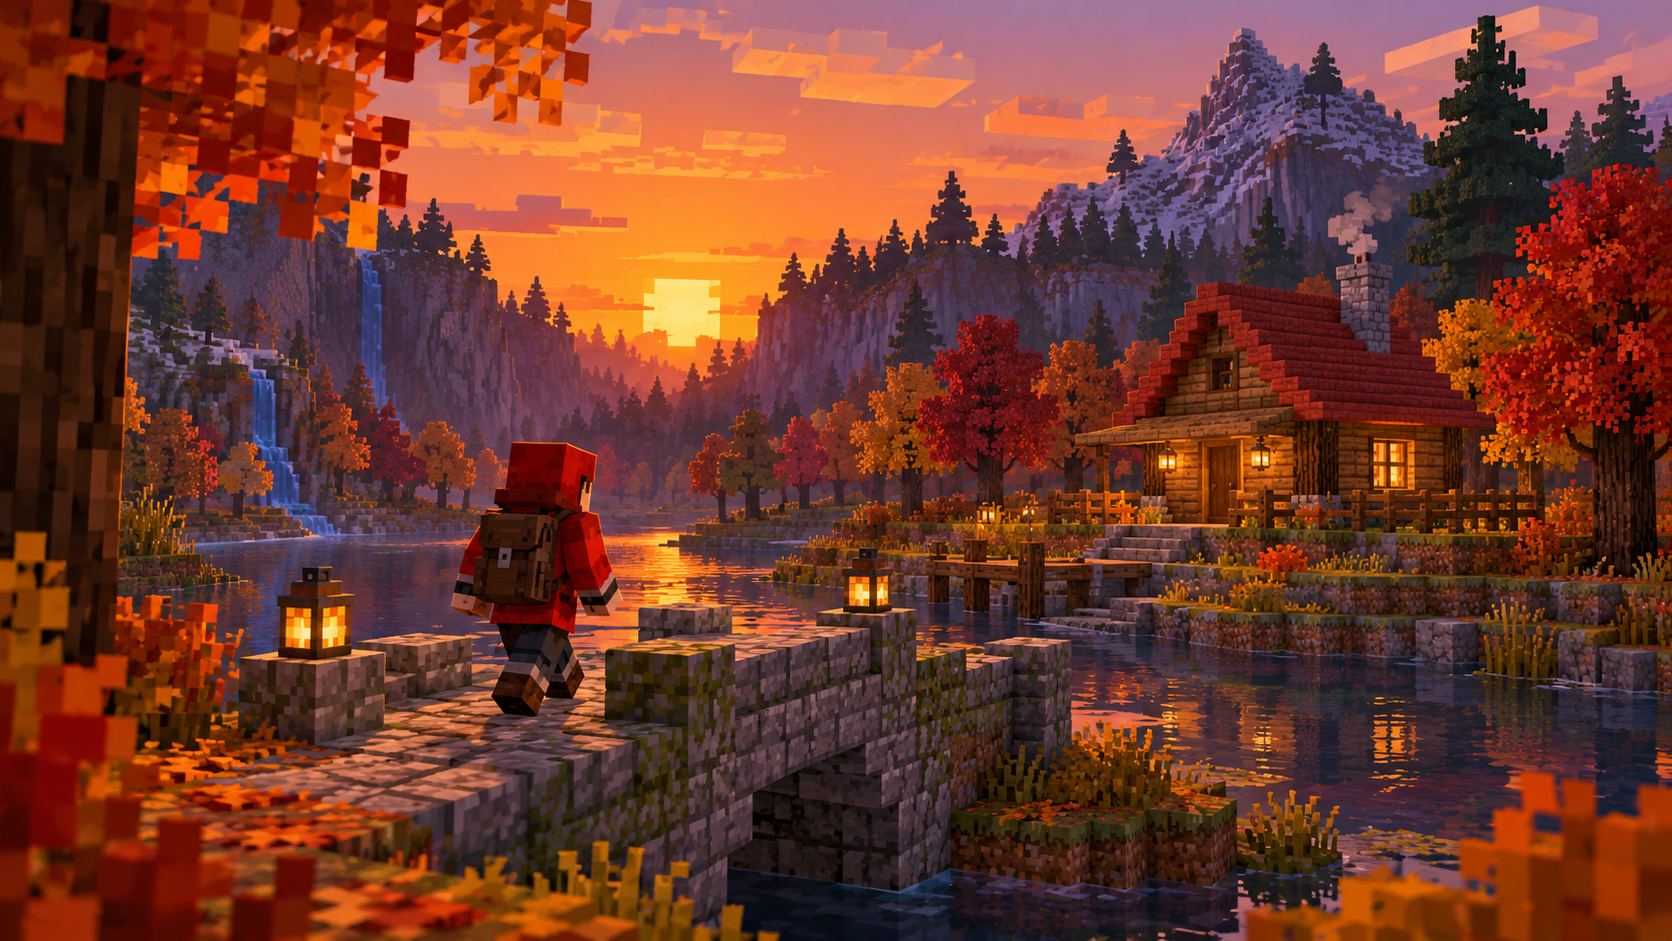
Reference-image mode uses one uploaded image. If the selected model offers Text to Image, switch modes to start from words.
Yes, but the paired Skin page is more focused on a character; this page works best for places and objects.
No. The output is an image; it does not include a block list, schematic or game file.
Yes. Check the current quote for your selected model and settings before submitting. History then shows progress.
Continue from a place to a person with these connected image tools.
faceinhole.app · Updated